
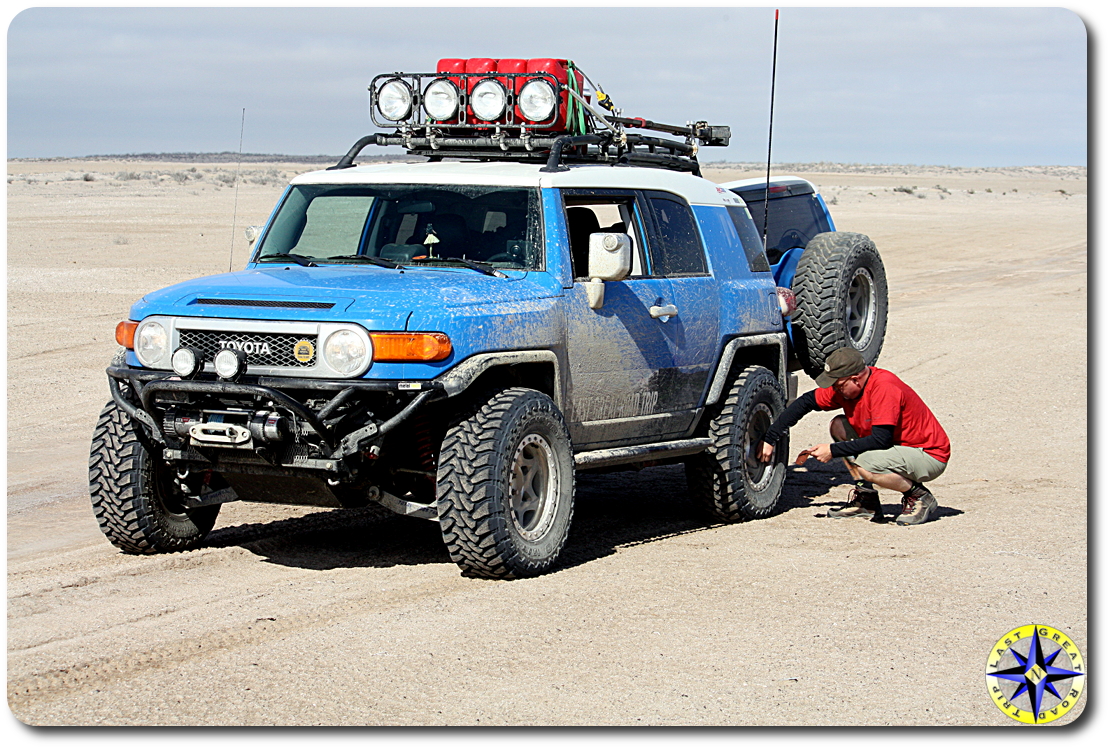
 If your off-road adventures include sand, mud or 4×4 trails you realize the advantages of letting a little air out at the start. Lowering your tire’s air pressure, known as “airing down” has a number of benefits including:
- In sand lower tire pressure increases the tire surface that comes in contact with the ground allowing your rig to float on top of the soft surface rather than sinking into it
- On rocks airing down allows your tires to contour to and bite the obstacle keeping more tire surface in contact with the rock or tree root to maintain forward momentum
- On mild trails you will find a lower tire pressure provides a softer ride over bumps and ruts.
In order to lower the air pressure on the trail you can take the minimalist approach and hold down the valve stem with a pen or twig until you get to the pressure you want. Or you can purchase one of several tools on the market designed to air down tires. Some of your choices include: Tire Buddy II, Sun Performance Quick Air Deflator, Oasis Trailhead Deflator, ARB E-Z Tire Deflator and many others.
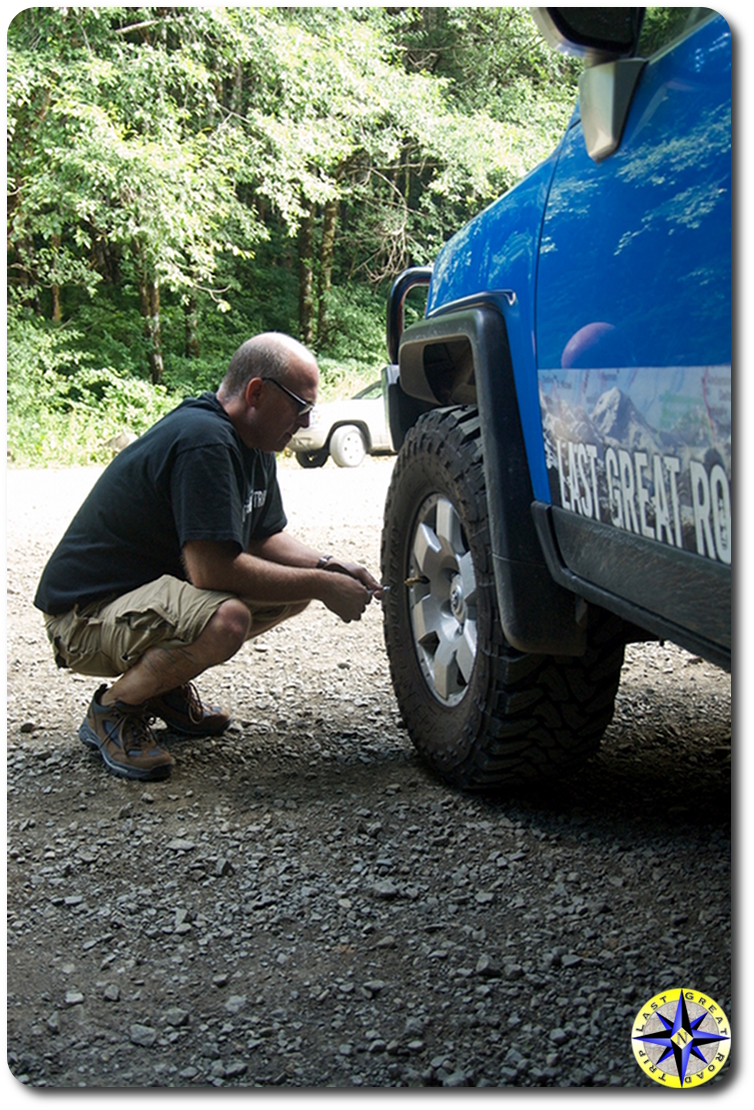
 For our wheeling needs, we use Staun Tyre Deflator. They are adjustable, simple to use and can quickly bring a tire to a preset tire pressure. Staun Tyre Deflators come is a set of four so you can air down all your tires at once without having to run back and forth. Simply set your deflators to the desired air down pressure ahead of time, then at the trail head screw them onto the valve stem and watch while they do their job. They will automatically stop at the pressure you set them to, ensuring all four tires are at the same PSI (pounds per square inch).
Setting the Staun Tyre Deflator to the desired presure is a matter of following these five steps:
- Air down one of your tires (the spare is handy for this) to the desired PSI. I like to keep my Staun Tyre Deflator set a little high, say 24 PSI. This gets me to a known preset on all tires and than I can make any final adjustments down (16, 18 ,22) depending on trail conditions.
- Wind the lock ring and adjusting cap all the way down (clockwise). Screw the Staun Tyre Deflator onto the valve stem of the tire you deflated in step 1. Be sure the value stem threads are clean and in good condition.
- Loosen the adjusting cap (counter clockwise) until the deflator opens and you hear air escaping, Immediately tighten the adjusting cap (clockwise) until air flow stops.
- Turn the locking ring up to the adjusting cap and tighten.
- Remove the Staun Tyre Deflator. Air up your tire, adding 5 to 10 lbs of pressure. Screw on the defaltor and wait until it stops. Remove the deflator and check the tire’s PSI to ensure it is where you expected it to be. Make any slight adjustments and repeat if necessary. When making adjustments to Staun Tyre Deflators, each 1/2 turn of the adjusting cap is equivalent to 3 PSI.
Your deflator is now set. Repeat this process for each of the four deflators in a set. When the tire pressure and the Staun Tyre Deflator setting is less than 8 PSI apart, you may need to lift the center pin to start the deflator.
Trail Tip: It is a good idea to print-off up these five steps, cut them out, laminate it and keep the laminated card with your Staun Tyre Deflators in case you need to readjust your deflators on the trail.
Having an adjusted set of Staun Tyre Deflators will allow you to go from street pressure to trail pressure in minutes and ensure that all four tires are aired down to the same PSI. Be sure to remove the deflators, check the pressure and screw on the valve cover caps prior to starting down the trail.
Don’t forget to air up when you’re done wheeling before heading back onto the tarmac.