
 I love all the gadgets available these days that make getting to your off-road adventure a breeze. But I hate wires dangling all over, getting in the way and generally creating a big spaghetti mess. Sure you can hard wire the gizmo into your rig’s electrical but than you can’t easily move it to another rig and you still have to route the wires. So to satisfy my love hate relationship with gadgets and keep it simple I came up with the 15 minute GPS gadget wire-up.
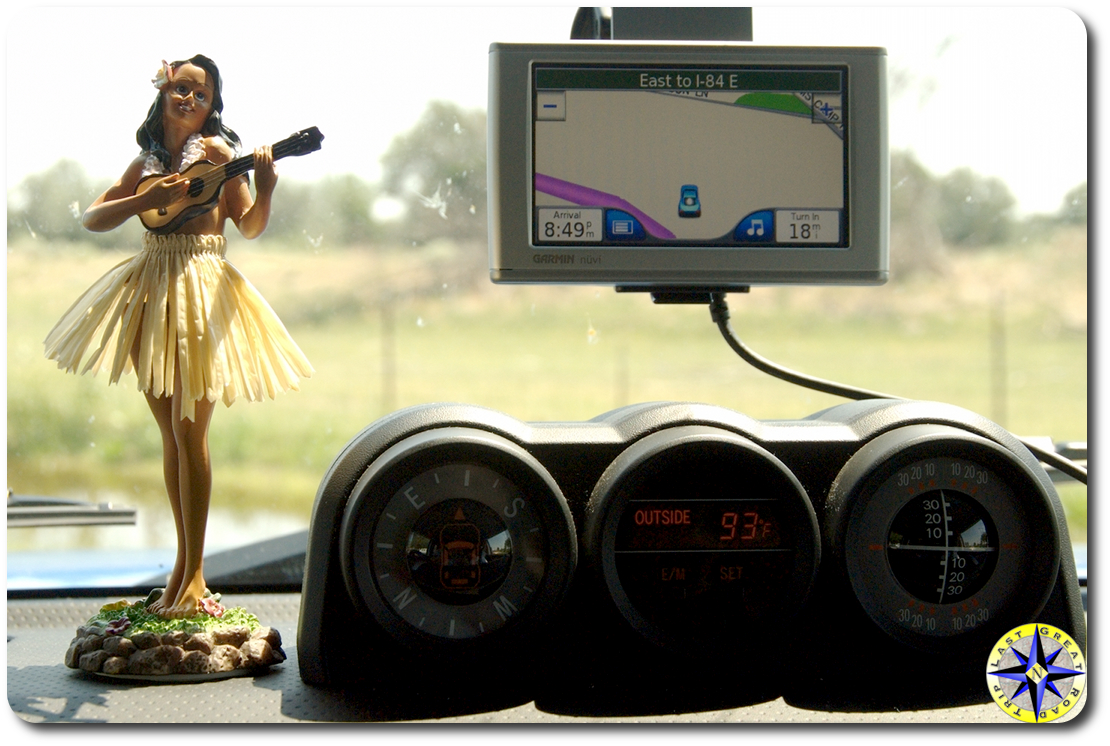
Although I performed this mod using a Garmin nav which is stuck to the windshield, it will work with most dash or windshield mounted gadgets.
States have numerous rules of the road and one law that many states have adopted is the placement of a windshield attached gadget. The nav unit needs to be placed in the lower corner of the windshield (check your state’s regulations). So in order to keep us out of trouble and allow my navigator quick access, I choose the lower passenger side but this mod will work equally well on the drivers side.
In order to run the power from the GPS to the auxiliary  power supply down on the console, we are going to run the power cable under dash, behind the glove box and up to the power source. This simple mod will require a 10mm socket, a small flat screw driver, a couple of zip ties and 15 minutes.
Use a thin piece of ridged plastic (a popsicle stick or small screw driver will also work) to remove the bolt cover on the “oh my god” handle on the A-pillar. Slide the screw driver between the top of the cover and the handle pressing downward a little as it slides in. After both covers are off, remove the two 10mm bolts holding the handle to the A pillar.
With the handle removed, the A pillar cover is held in  place with two small plastic snaps. Gently pull the inside cover away from the A pillar. The snaps will release their grip allowing you to remove it and gain access to the dash.
Now that the top is exposed, we move on to the glove box. The FJ Cruiser’s glove box is held in place with a single hinge pin and two stoppers. Open the glove box and slide off the hinge pin which is attached to the glove box  on the right side. After sliding off the hinge pin, press on the outside of the glove box’s sides, pushing inward, to allow the stoppers to come forward. The bottom of the glove box is attached with an open hinge design and you can easily lift it out. You should now have clear access to route your power code.
Run your power cord down from the top of  the dash and over to the console zip tying it to keep the cord out of the way and in place. Since we also use the auxiliary power outlet to charge up the iPod we added a splitter to keep the power flowing to the GPS nav as well as any other gadget we might have on board. To keep things simple we slide the power cord between the front console cover and floor covering rather than than removing console. Remember we wanted to keep this simple and easy.
After the cord is in place give the nav a quick power test to ensure power is flowing freely, before buttoning everything back up. To put your FJ Cruiser back together, reverse the process, setting the glove box in place followed by snapping in the inside cover of the A-pillar and than bolting up the “oh my god” handle.
 This mod is not going to make you go faster, ride higher or improve your gas mileage but it will keep the power cords out of the way, lend to a neat clean appearance and allow you to worry less about anything getting hung up on your power cords. Best of all… the GPS nav is easy to see while still keeping an eye on the road as we find our way to our next off-road adventure.