
 When we last left our off-road adventure hero, Scuba Steve had just saved the orphans from the waters of the 100 year flood and was riding off into the sunset to wheel another day. Scuba Steve’s rig had barely dried off when a cry for help came over the CB. Dastard Dobbs, Scuba Steve’s arch enemy, had kidnapped the Swedish bikini full-contact origami team and was holding them for ransom at his hideout deep in the middle of nowhere. Without regard for himself or his rig, Scuba Steve wheeled through the engine clogging desert dirt and crossed the chest-high torrent waters of Goober river which surrounded the island hideout like a mid-evil castle moat. Like all evil doers, Dastard had underestimated the power of the snorkel modded scuba rig and had flown off leaving the girls unguarded. As Scuba Steve forged the waters and rolled up to the hideout, the front door flew open and the girls ran out, bouncing and bounding into the rig. With the entire team, including its goalie, on board, Scuba Steve and the girls headed off to the ESPN World Cup Beach Full-Contact Origami Bowl… But that is another story.
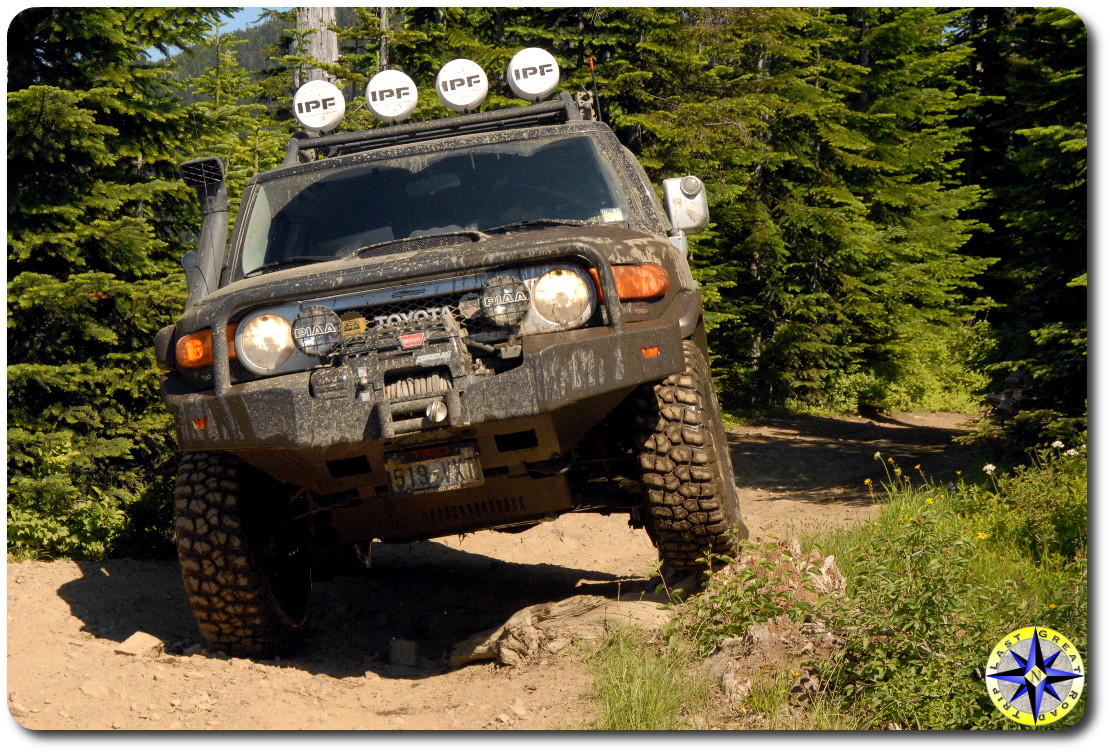
Snorkels are designed to allow the engine to draw fresh, clean, dry air from the rigs roof line. In desert convoys the higher intake point of snorkels has been shown to deliver cleaner air to the rig’s engine reducing the strain on the filter. And when it comes to water crossings… well it works just like a snorkel, keeping the water out and the air flowing in. Friends of ours, Ruben and Becky let us know they  were heading up to Metal Tech and having a Safari Snorkel from ARB installed on their rig. So why not run down there and show everyone what it takes to add a snorkel to your FJC. (some pictures courtesy Safari Automotive Technologies Pty. Ltd.)
The snorkel kit comes complete with all the hardware needed to connect it to your rig’s air intake system but you will need a few tools including:
- Loctite® for the studs that you will insert into the snorkel body
- 105 mm hole saw
- 16 mm step-up drill bit
- painters tape (blue or green)
- screwdriver, hacksaw, drill, grinder (or sander), 8mm & 6 mm wrenches
- permanent marker or grease pen
- body colored touch up paint
- silicon sealant (optional)
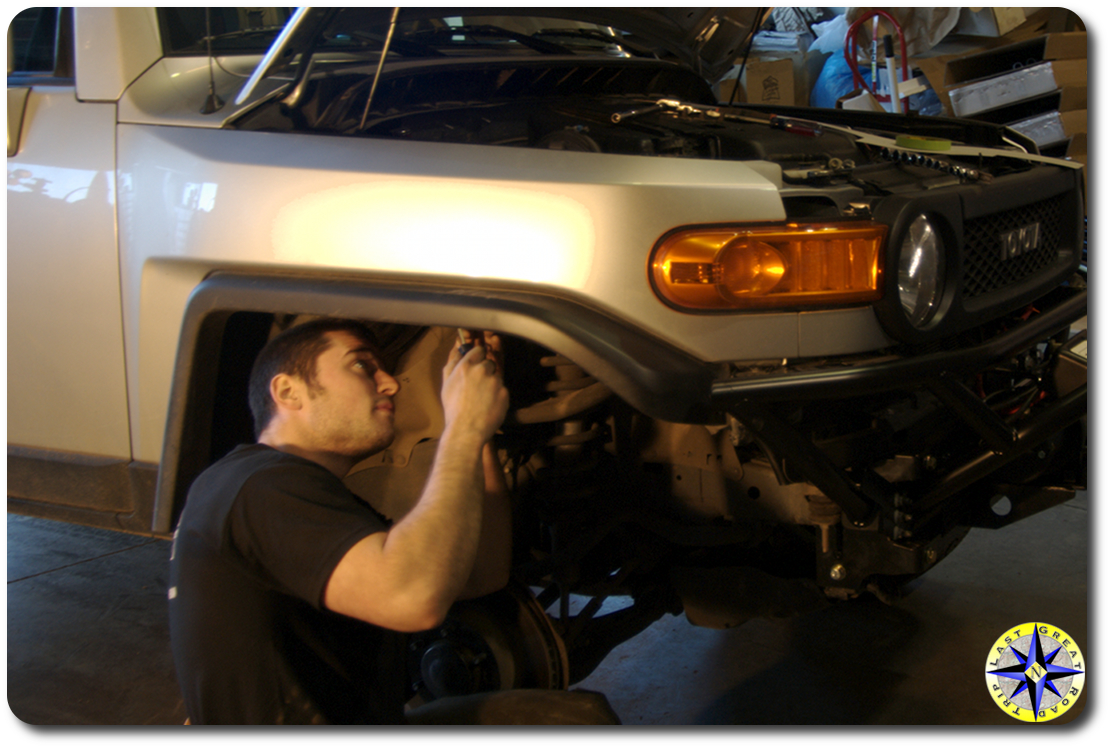
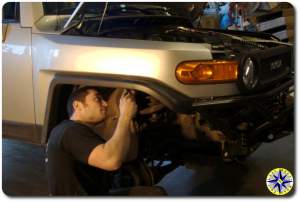
You need to remove the plastic apron under the wheel well exposing the inside of the fender. This involves popping out the little plastic fasteners that hold the liner in place. It helps in spotting all the snaps if you hose out the wheel well fist to wash off the dirt and gunk. With the fender liner pulled out, remove the air intake duct located inside the fender well.  This is also the time to remove the intake duct located inside the engine compartment that connects to the engine’s air filter cover.
Th e kit comes with a template that will layout all the points where you will be poking holes in your rig. There are eight (8) 16mm holes and one 105 mm hole. Getting the alignment correct is straightforward. The template meets up with the rear edge of the fender and the tab come up to the top fender edge. Use the painter’s tape to secure the template than mark the points with your pen and remove the template.
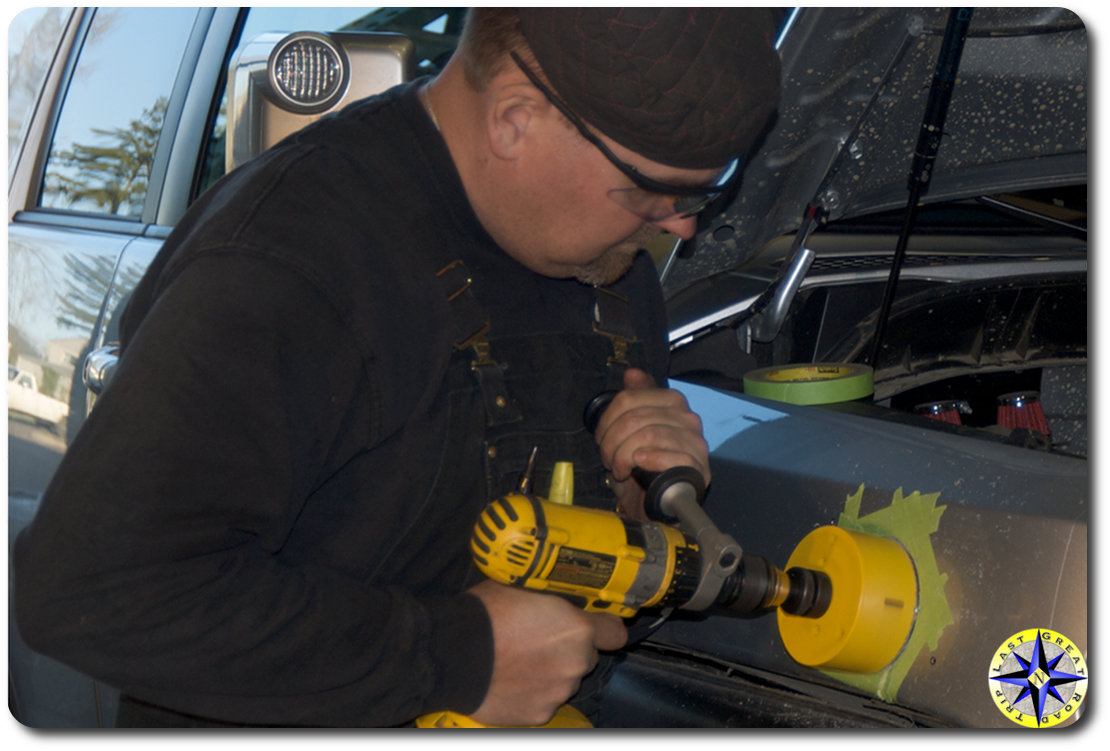 Ok this is where we separate the men from the boys. There is no turning back on this mod once you start the drilling. Take a big breath relax and go easy.
Start by using a small bit to drill pilot holes on all the marks. This will keep the larger drill bits from sliding off across the fender. With the pilot holes in place take some painter’s tape and cover the areas that will be drilled out extending past the final hole size. Be sure to leave the pilot hole visible. The tape will keep any metal slivers caught on the drill bit from spinning around and scratching the fender on the hole’s edge. If your step-up bit goes beyond 16 mm, run a piece of tape on the bit where you want to stop.
 That wasn’t so bad… kind of like ripping a band aid off, it only hurts for a minute. At this point you can remove all the tape and appreciate you work. De-burr the holes and give a quick swab of body paint to keep the rust off.
Now that you’ve recovered from the trauma of 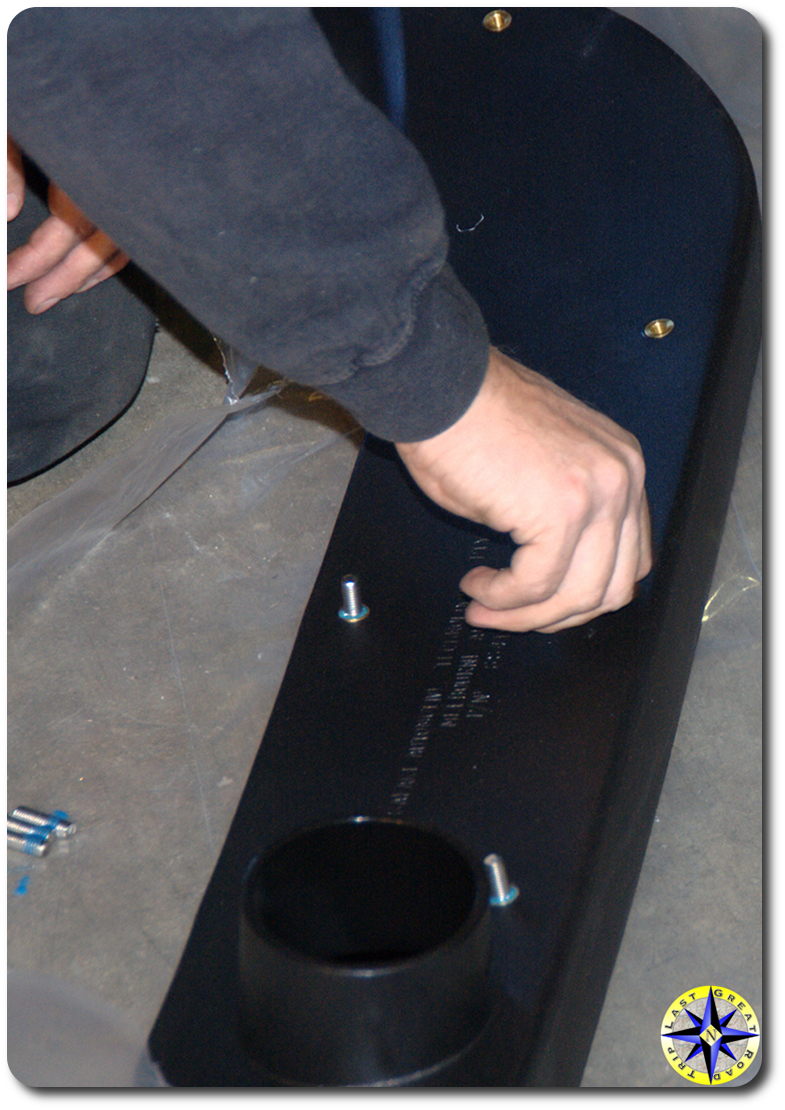 cutting a perfectly good fender, its time to install the eight studs into the snorkel body. Apply a little Loctite® to the stud threads and screw them in. Once you’ve hand tightened the studs, grab a couple of 8mm nuts to double and tighten the studs in. A couple of DO NOTS.
- Do not use the the nuts that came with the kit to tighten the studs since they have nylon bushings and are designed to be used only once
- Do not over tighten the studs. Remember the snorkel body is plastic and you don’t want to strip out the threads
At this point you will also  want attach the upper mounting bracket to the snorkel body neck. Add a dab of Loctite® here as well.
Grab the tape again and cover the upper A pillar cover where the upper mounting bracket will be attached to the rig. In order to determine where these holes will be drilled, dry fit the snorkel body on the rig holding snug to the body and A pillar cover. Mark the tape with the pen and pull the snorkel back out. Drill the three holes which will hold the plastic inserts. Start again by tapping the hole, followed by the step up bit to 8 mm. De-burr and swab with a little body touch up paint.
 Depending on the type of air intake you have, the procedure changes a little here. Later models have a pre-filter which acts like a centrifuge spinning the air which throws the dirt to the side and down the one-way rubber debris cup. To ready this style of pre-filter, remove the front cap and grind down the plastic lugs that hold the front of the
  pre-cleaner in place.
The older style pre-filter is one piece unit. Grab the hacksaw and cut the collar off just behind the point at which the foam rubber gasket is attached. When the cut is complete, be sure to wipe out the interior and remove any of the plastic sawdust.
 This is also the time to decide if you want to seal the drain holes using a little silicon. Sealing the drain holes will prevent water from getting in, but also means it can’t get out if some finds it way down the snorkel during a monsoonal down pour. You can rotate your air ram to face backwards when driving in the big rain to prevent water from entering the air ram. There is a single drain hole in the air filter cover and on the older style pre-filter you will find three drain holes on the bottom.
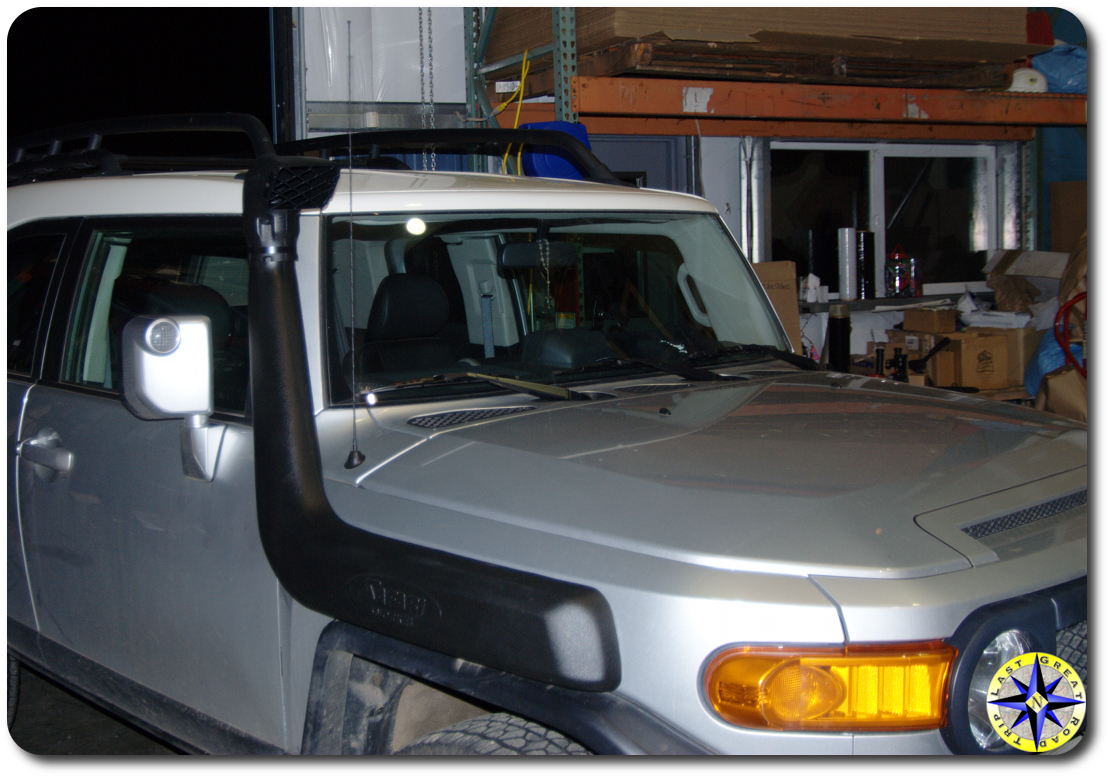
 Lets bolt it all in place. Attach the rubber boot to the snorkel intake collar. Bring the snorkel up to the rig and using the washers and 8mm nylon lock nuts, attach the snorkel body to the fender. Attach the upper mounting bracket to the A pillar cover using the three screw included with the kit. Tighten the 90/100 stainless steel hose clamp over the hose and collar holding it in place against the snorkel body.
Hang in there, you’re almost home! Using the other stainless steel hose clamp (80/100) attach the modified pre-filter to the hose that connects the snorkel to your air intake. re-attach the pre-filter to the rig and the air filter cover. Wow that part was easy.
 Lastly, attach the air ram assembly to the snorkel body using the black hose clamp to hold it all in place. Use a socket to tighten the hose clamp instead of a screw driver, this will lesson the paint scratch on the black clamp. A little black rattle can will touch up any scratches on the clamp.
Your engine is now safe from gulping water when crossing rivers or playing in the mud. Don’t forget to protect your rear diff and e-locker, relocating their breather by performing the original scuba mod. When it’s all done your rig is ready to join Scuba Steve on his next adventure, keeping the world safe for orphans and the world of Beach Bikini Full-Contact Origami.
Hey, Mark sure made that look easy 🙂
It always looks easy when you watch someone who knows what they are doing.
“Swedish bikini full-contact origami team” LOL 🙂
Another great video, and again another quality job from Metal Tech!
Full-contact origami is the sport of kings ha ha.
Glad you like the post and you’re right MT makes it look easy… guess that’s where experience pays off.