Changing the front differential oil on your Toyota truck is an easy maintenance activity! Although there is not a lot of room to work, we have a couple tricks that will make changing the gear oil in your FJ Cruiser, 4Runner or GX470’s front differential much simpler.
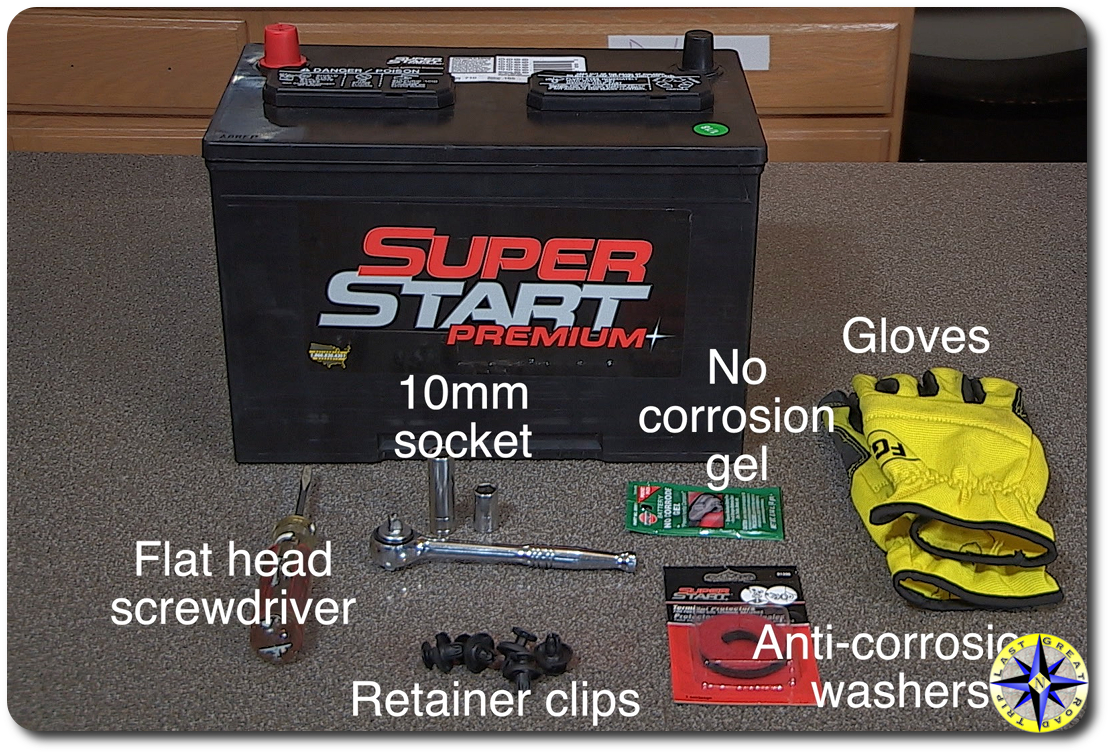
Let’s start with what you’ll need:
- 10mm Hex Bit Socket
- Torque wrench
- Funnel with flexible hose
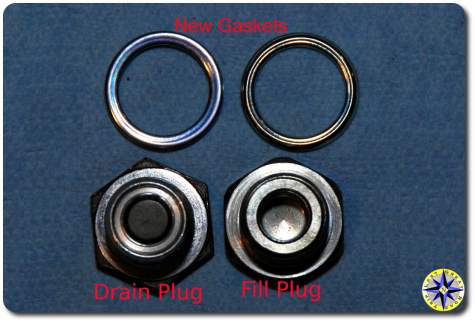
- Set of crush washers (gaskets)
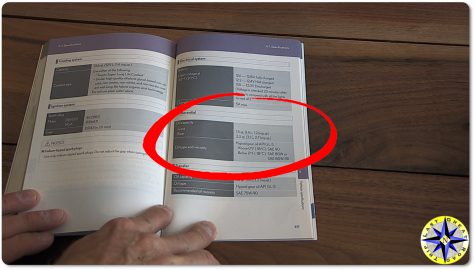
- Differential fluid (gear oil) (check your owner’s manual for type and weight specific to your truck model year)
- Oil drain catch pan
Before you begin, fill a buck with about 8″ of hot water and set your gear oil containers in the hot water. This will heat up the oil and allow it to flow more easily.
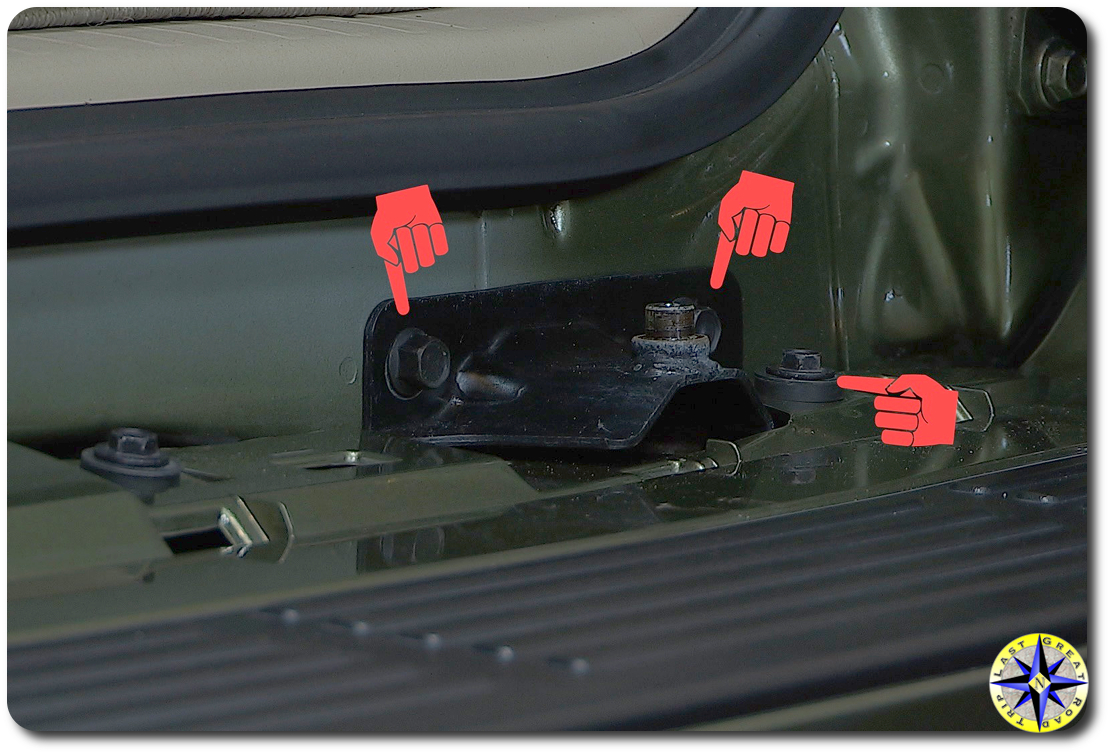
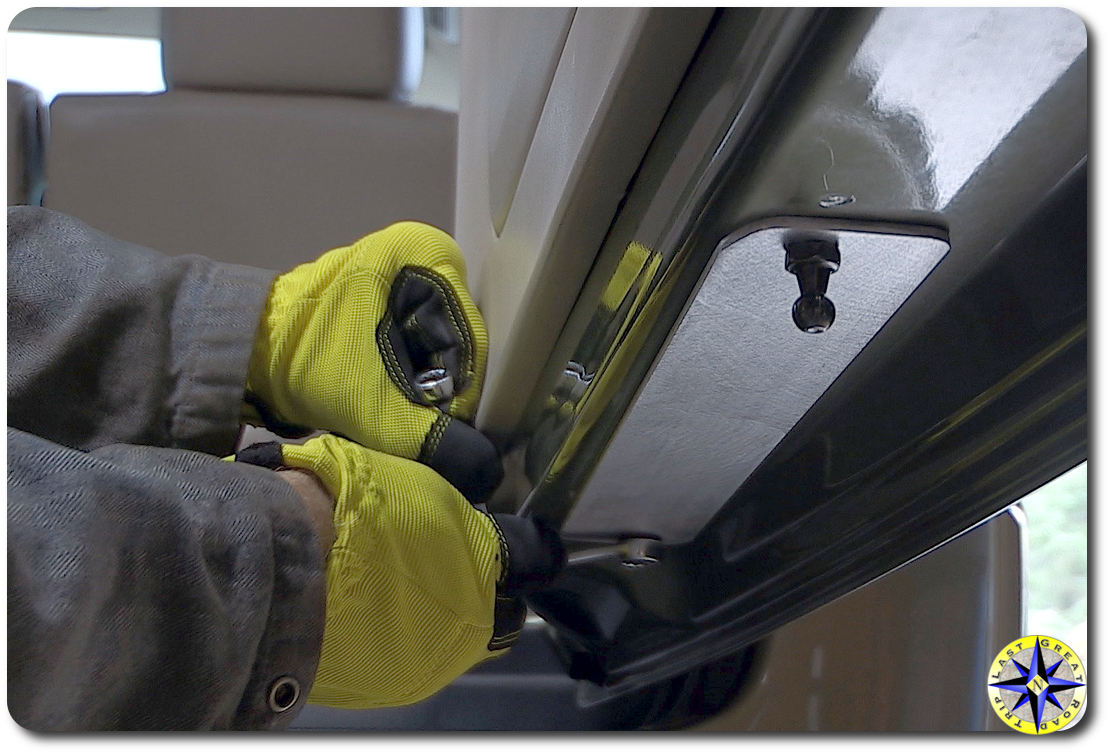
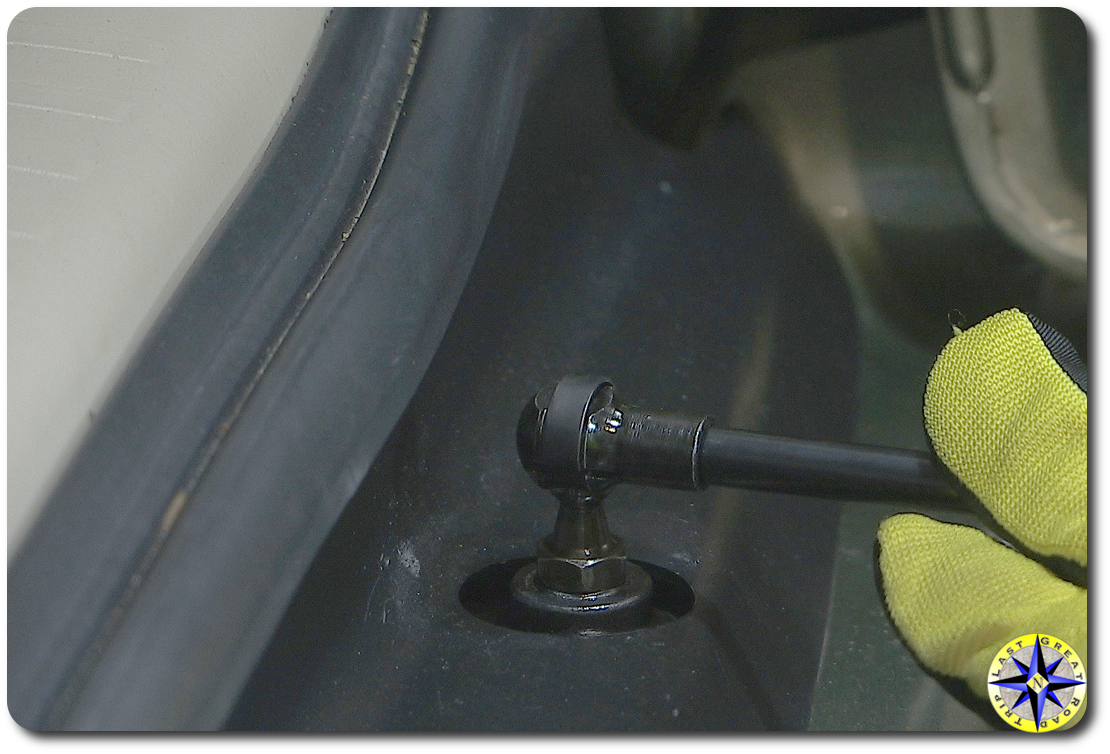
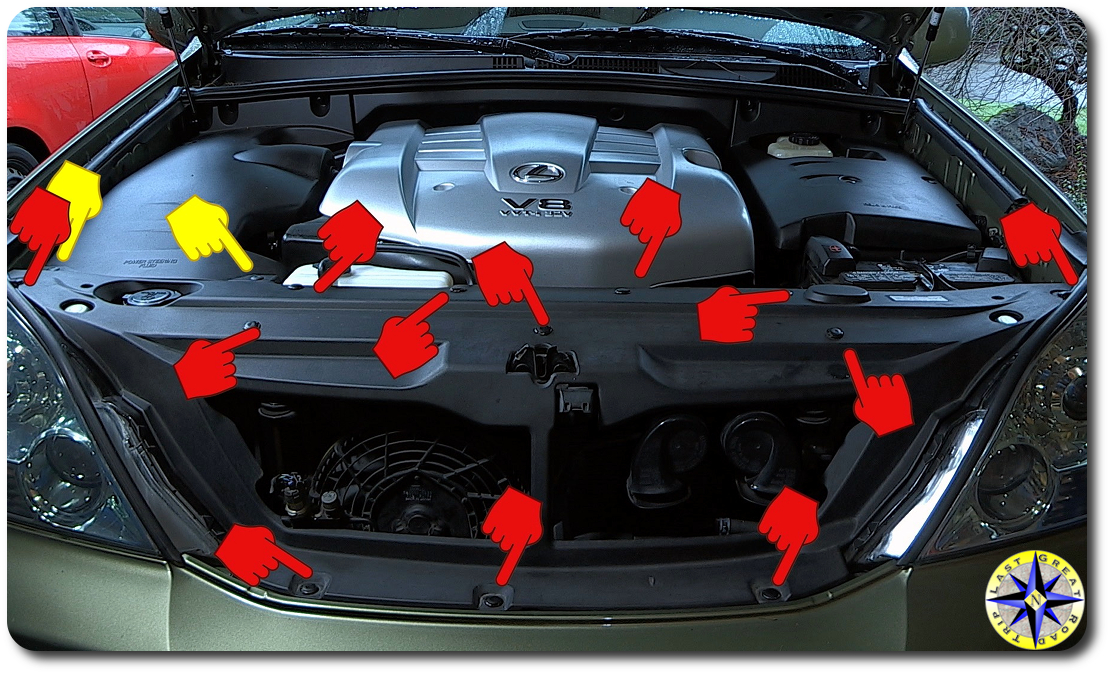
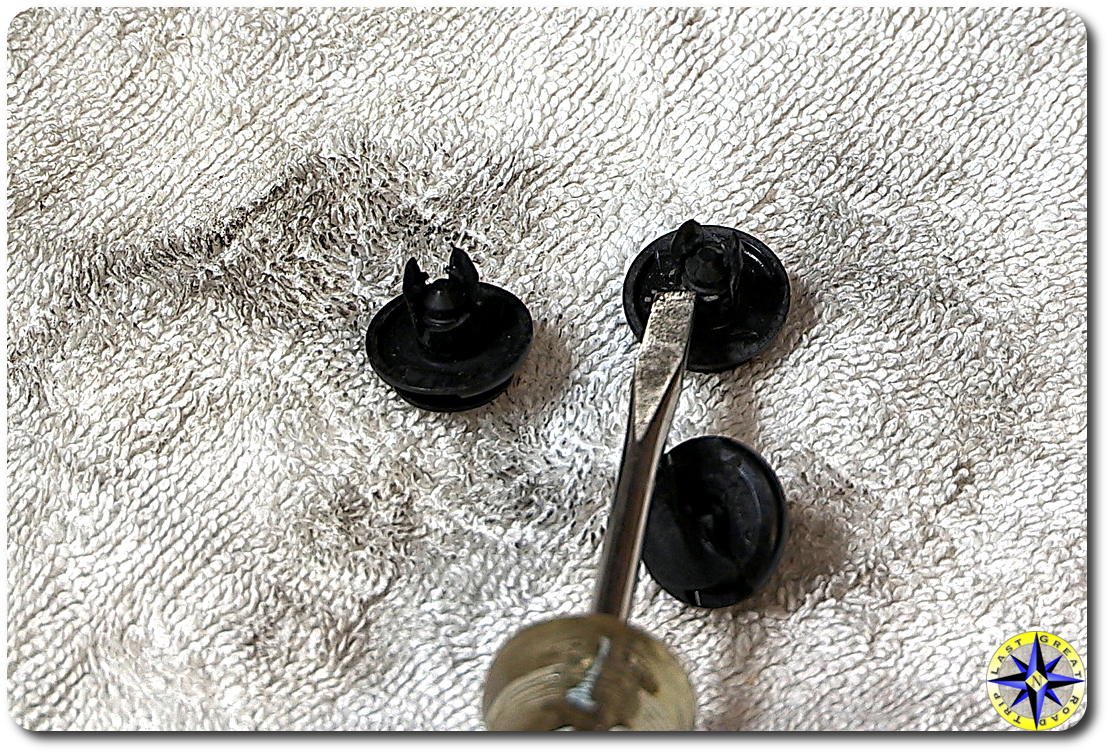
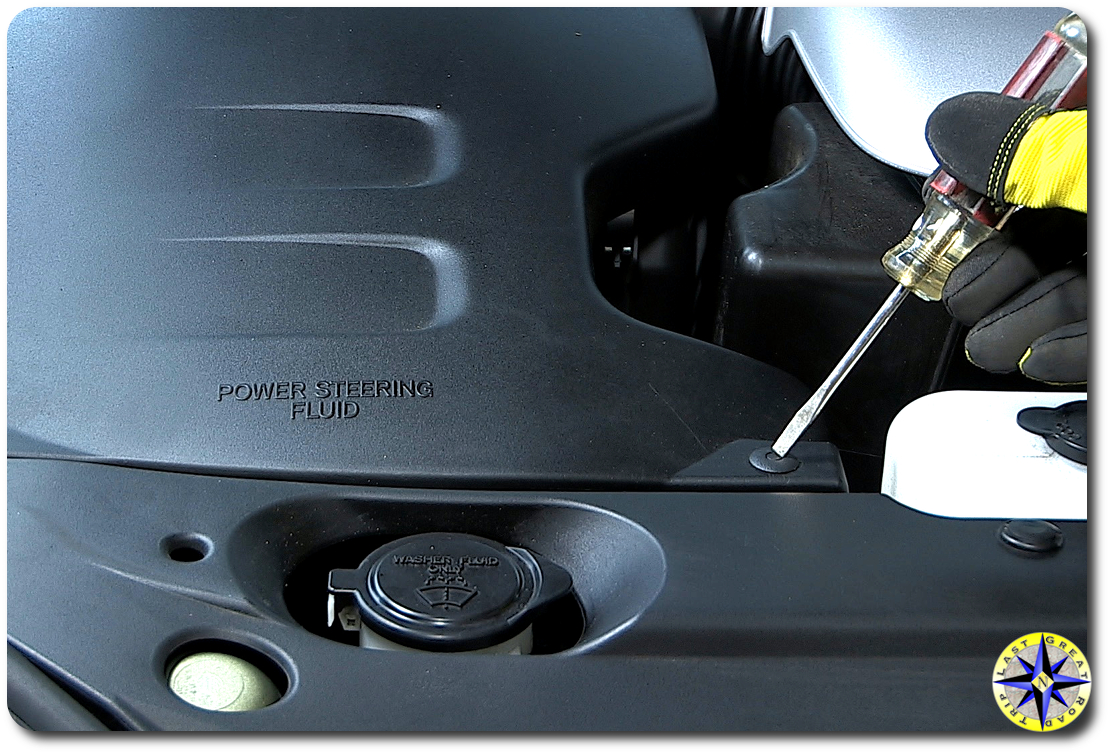
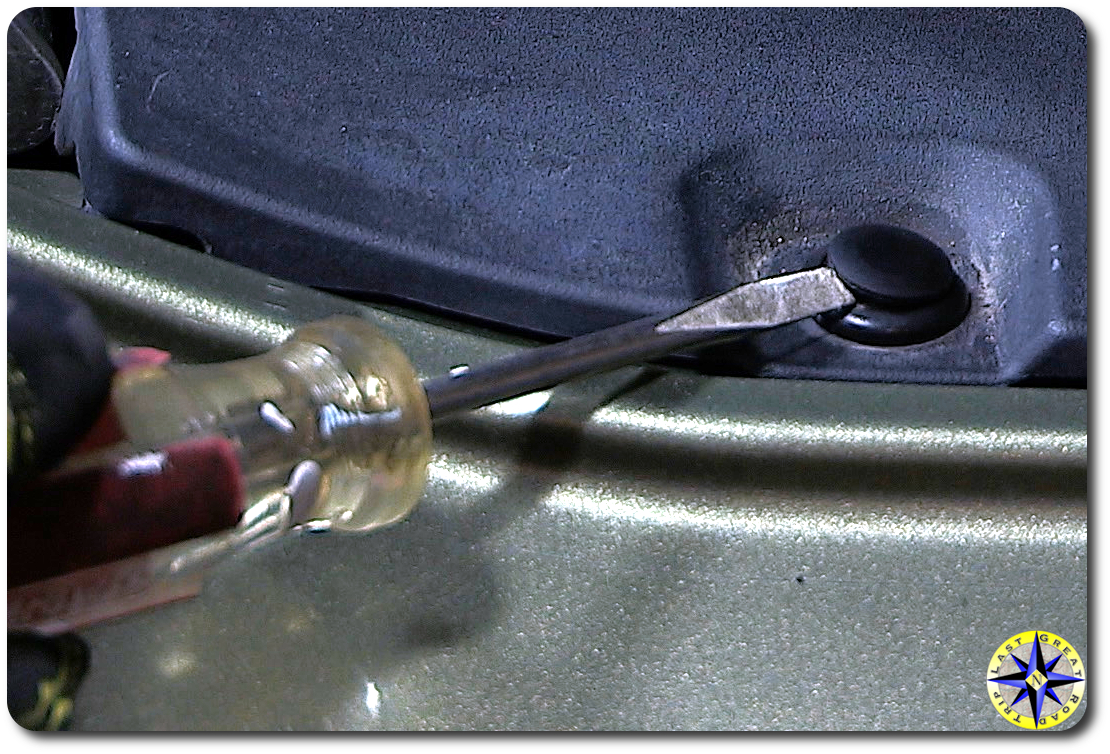
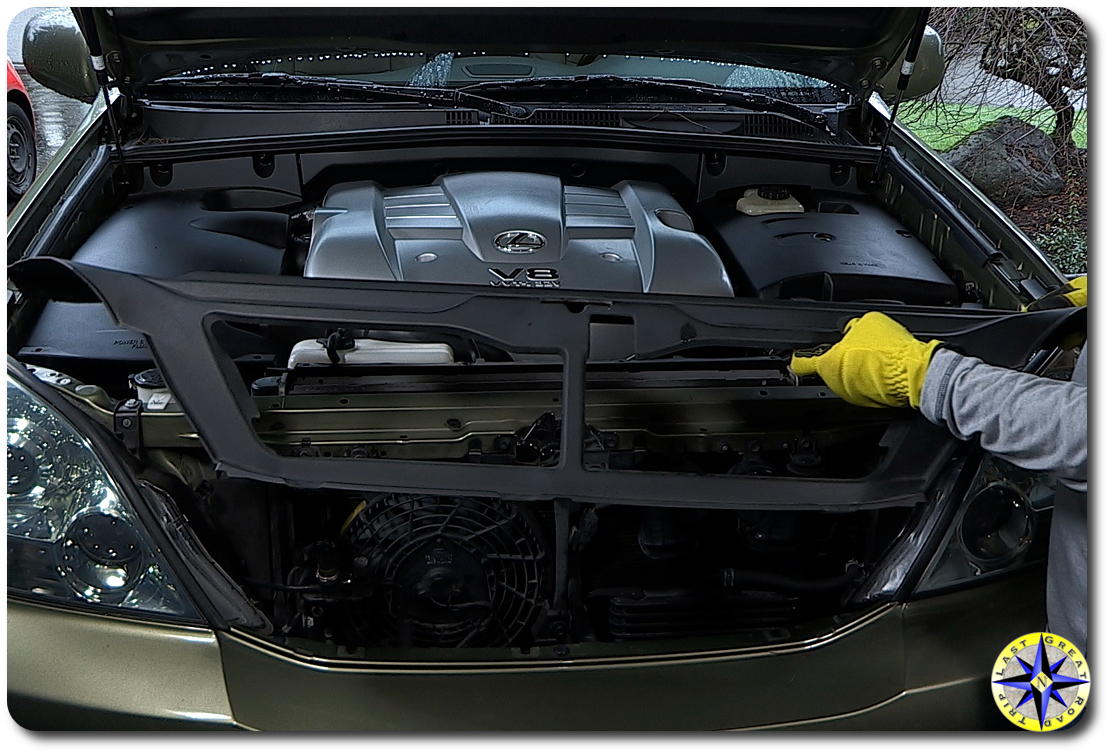
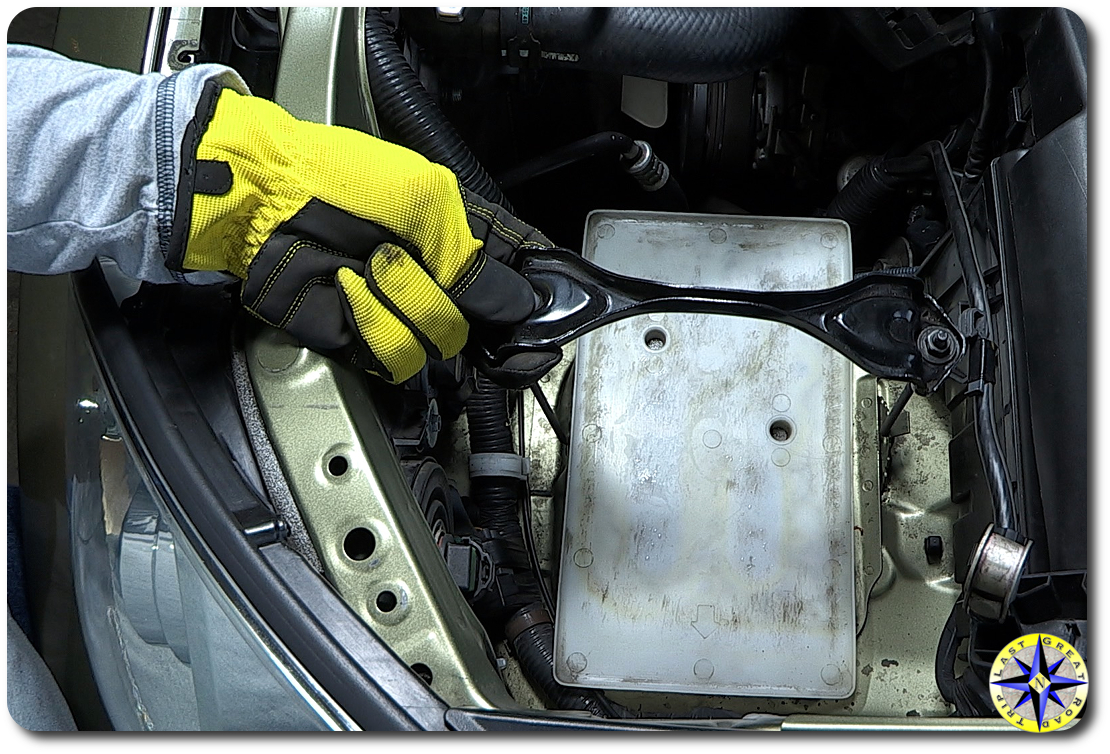
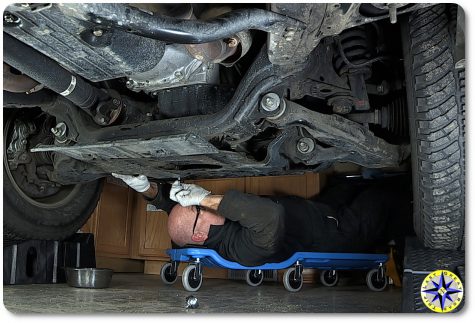
To get to the front differential you will need to remove the factory gravel guard. Remove the four bolts holding the OEM gravel guard to the frame and set aside. This is a good time to look everything over and check for any leaks or damage that may exist.
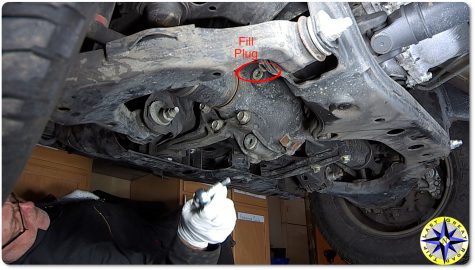
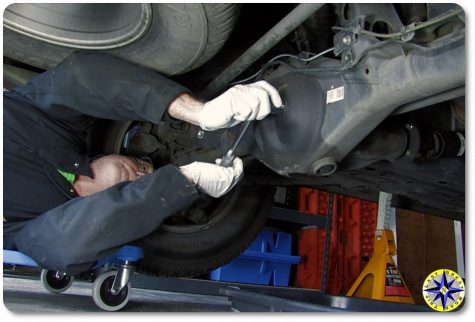
Using the 10mm hex socket remove the fill plug. Why the fill plug? This ensures the fill plug isn’t stuck and you’re left with an empty differential case and no way to fill it.
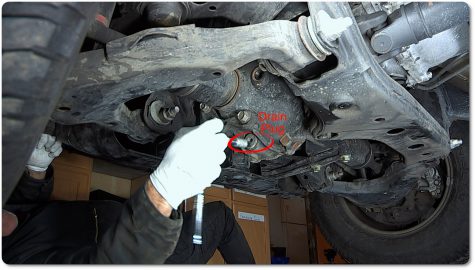
Now using the 10mm hex socket, remove the drain plug and allow all the gear oil to drain into the catch pan.
Once all the differential oil is drained, reinstall the drain plug using a new gasket. The Toyota specifications call for 48 ft/lbs of torque to ensure the plug and gasket are seated correctly and wont come loose on the trail.
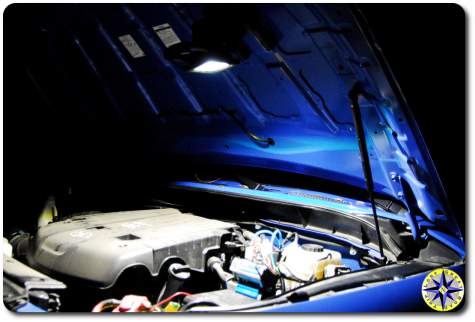
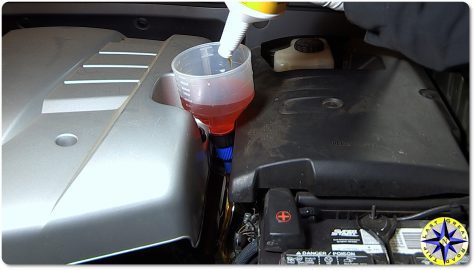
Filling the front differential can be tough. There is very little room so I recommend the top down funnel method. Grab a funnel and attach about 2 – 3′ length of hose (I find clear aquarium hose works great) to the end of the funnel. Feed the hose down the through the engine compartment and place the end of the hose into the fill opening.
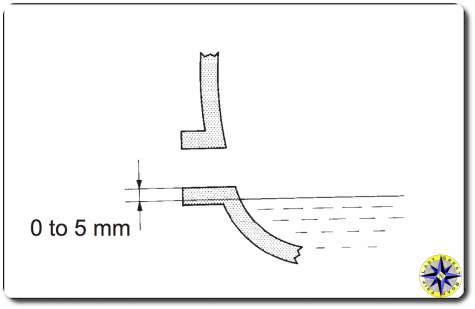
The gear oil that has been sitting in the hot water should now flow easily down the funnel, through the tube and into your front differential. Your owner’s manual will specify how much oil is required. You can verify you’ve reached full when the gear oil just begins to spill out of the fill hole.
Using a new gasket, tight the fill plug to 29 ft/lbs, wipe down any gear oil and reattach the factory gravel guard.
Maintaining the front differential of your Toyota FJ Cruiser, 4Runner, Prado or Lexus GX470 is easy and the care you give it will go a long way to ensuring your 4WD continues to operate correctly on all your overland adventures.
Don’t forget to also change the rear differential oil.