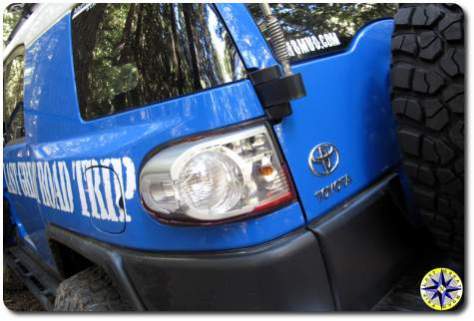
 Not that long ago on an off-road adventure we broke the tail light on our FJ Cruiser (Carnage on the trail). Now it is time to pay the piper and repair the damage.
Replacing a broken tail light is a simple fix anyone can perform with a few simple tools.
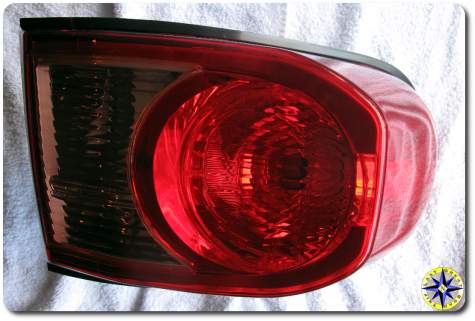 Although simple, plan on at least an hour to complete this repair. It is also time to throwout all child labor laws and enlist the help of your daughter or son or anyone else who has small hands.
In order to remove the broken tail light assembly, pull back the small plastic access panel on the interior back corner of your 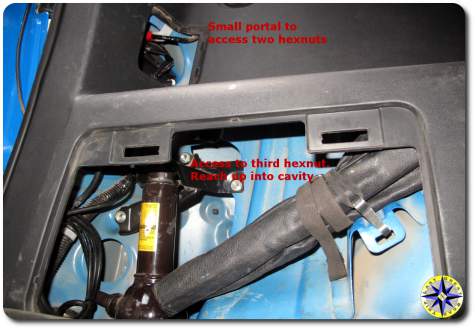 FJ Cruiser. Since we replaced the driver’s side we also removed the bottle jack in order to reach the third hexnut that holds the tail light housing in place. If you are replacing the passenger side you will have to remove the base speaker and the access panel behind.
The tail light housing is held in place by three hexnuts on long screws that are attached to the tail light assembly. A 10mm wrench will 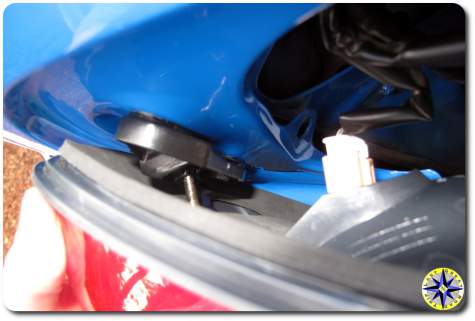 loosen the hexnuts closest to the back door accessible through the small access portal. The third requires a 10mm deep socket (on a 1/4″ drive there really isn’t much room in there) and small hands. Reach back up into the cavity behind where the bottle jack is stored. You cannot see the long screw or hexnut so you (or your small handed assistant) will need to feel your way in order to slide the socket on and loosen the hexnut.
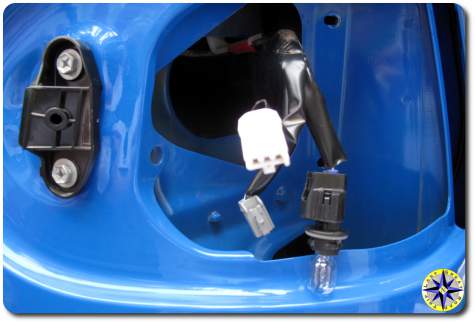 With the hexnuts removed, gently slide the old light housing off and carefully remove the wire clip connections to the light sockets. After you have the housing off remove and transfer the light sockets (with bulbs) onto the new housing.
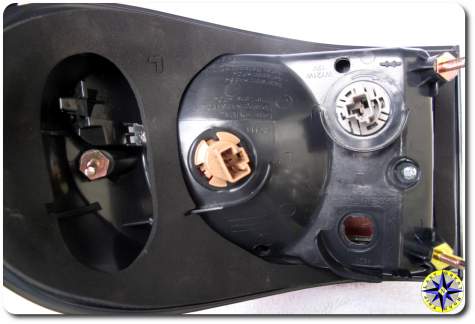 Now simply reverse the process to attach the new tail light housing assembly to your FJ Cruiser. Once you have the hexnuts hand tightened, test that the brake, reverse light and turn signal are operating correctly. When tightening the hexnuts, be careful not to over tighten. The screws are attached to plastic and can crack the plastic housing if over tightened. You want to a apply just enough torque to hold the tail light housing to your FJ Cruiser securely.
Think you might need additional instructions? How about the Toyota FJ Cruiser rear light assembly instructions manual pages? They do make it more difficult but it will provide details you might want to consider.
 Because this repair is so simple, we are not a fan of tail light guards. The guards attach using the three tail light housings screws with the guard’s attachment points sitting between the metal body and the plastic tail light assembly. When the guard comes in contact with an immovable object the guard is pushed in causing body damage and most likely cracks to the tail light housing. We prefer braking the tail light housing over body damage.

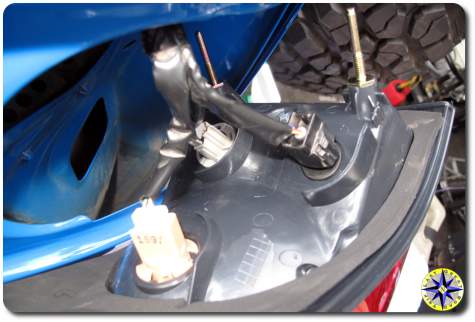
A 3/8” drive also works with the 3rd hex nut and provides a bit more room to work.